Materials needed:
The first step in restitching your camera case, even before removing the old stitching, is to condition the leather, especially along the seams. As leather ages, it gets dry and brittle. Working with it in this condition invites rips, cracks and frustration. The leather must be returned to a supple condition for best results. I recommend a liquid conditioner, rather than the cream or paste types, which are more of a surface treatment. Using a liquid oil allows penetration deep into the leather. Removing the Old Stitching
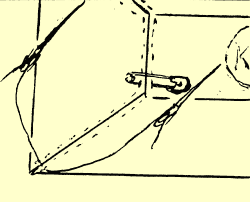
As you remove the old threads, put a small safety pin through a set of holes occasionally to keep the holes matched and the case partly assembled, then remove them as you stitch. (You only need two or three pins per side.) Re-stitching
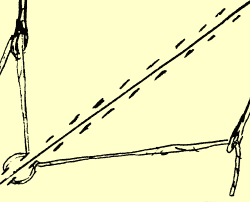
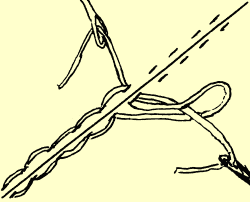
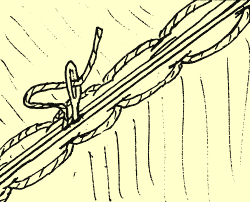
Cut a 60" (1.5 m) length of thread. Thread a needle an inch or two onto each end. You will be tying off the thread inside the case when you reach the halfway point, so you want to start at the front and work your way around. Start by running one needle through the first set of vacant holes. Pull the thread halfway through, like starting to lace a pair of shoes (Fig. 2) then run this needle back through the next set of holes. Do not leapfrog or skip a set. You want to go through each set of holes in turn. Pass the other needle back through this same hole, then pull snug. (Fig. 3) Continue in this fashion, essentially forming a continuous figure 8 with the thread. Every three holes or so, put an overhand knot in the two threads where they pass through. This will keep them from loosening. (Fig. 4) Last Hole
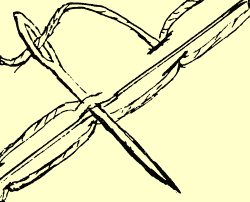
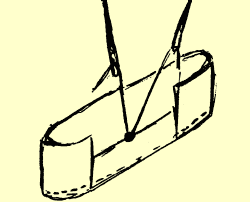
Note: Some holes are more shallow than others and attempting to work the needle through these shallow holes and on into the case in one step may cause the hole to tear. This can be avoided by running the needle completely through the hole to the outside, then running the needle back down between the two pieces of leather and into the case. (Figs. 5a and 5b) Working from inside the case, pull the threads snug, then securely tie the two ends together. Clip the excess thread and tuck the knot down out of the way. (Fig. 6) Repeat for the opposite half, again ending in the center. |
|
|
|
 |
|
|

| Back to the Stereo Cameras Homepage |